
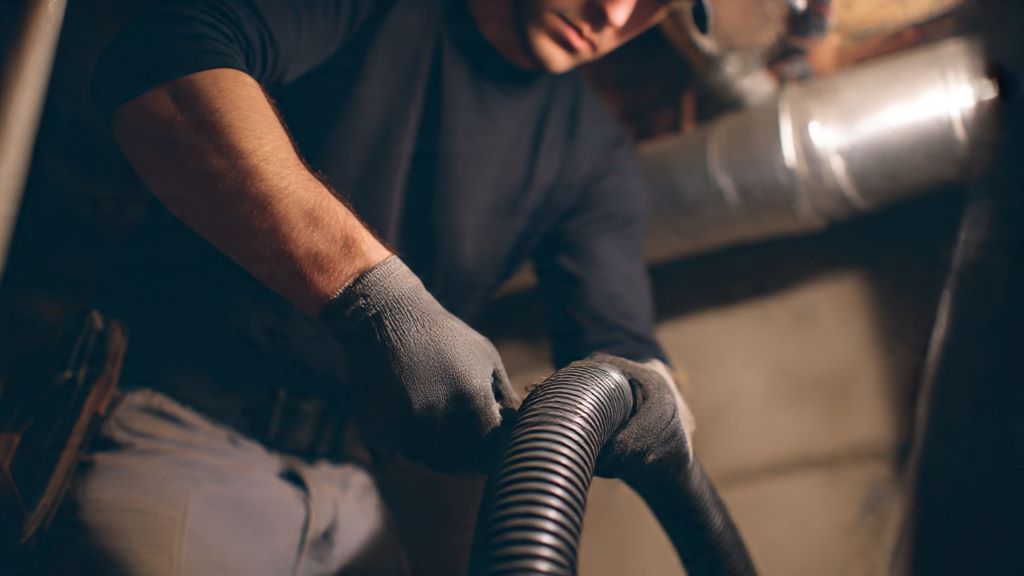
A whistling, hissing, or high-pitched sound from your vacuum cleaner usually signals an air leak somewhere in the system. When air escapes through gaps, cracks, or loose connections, it creates these annoying noises that can also reduce your vacuum’s suction power. Fortunately, most air leak sounds are easy to diagnose and fix at home without professional help. Whether you’re using a Best Vacuum Cleaner or an older model, understanding the common causes will help you restore quiet, efficient operation.
Air leaks occur when the vacuum’s sealed system becomes compromised. Your vacuum relies on creating a strong seal to generate suction, pulling dirt and debris through the hose and into the collection bin. When that seal breaks, air rushes in from unexpected places, creating distinctive sounds. The vacuum cleaner whistling noise is your machine’s way of telling you something needs attention. Identifying the source quickly will prevent further damage and maintain optimal cleaning performance.
This comprehensive guide walks you through every step of diagnosing and fixing air leak sounds. You’ll learn how to inspect each component, identify problem areas, and implement effective solutions. Most repairs require only basic tools and a few minutes of your time.
Understanding What Causes Air Leak Sounds
Before grabbing your toolbox, it helps to understand why air leaks create noise. When your vacuum motor runs, it creates negative pressure inside the machine. This pressure difference pulls air through the intended pathway: from the floor attachment, through the hose, into the collection chamber, and finally through the filter before exiting through the exhaust. Any break in this sealed pathway allows outside air to rush in, creating turbulence and resulting in whistling or hissing sounds.
The pitch and volume of the sound often indicate the leak’s location. High-pitched whistles typically come from small gaps or holes, while louder rushing sounds suggest larger openings or completely disconnected parts. Additionally, leaks reduce cleaning efficiency because the motor pulls in air from the leak instead of from the floor, weakening overall suction.
Common Sources of Vacuum Air Leaks
Clogged Filters and Dust Chambers
Surprisingly, blockages cause air to find alternative escape routes. When filters become heavily clogged with dust and debris, air cannot pass through normally. The increased pressure forces air to escape through seals and gaskets, creating whistling sounds. Similarly, an overfilled dust chamber can prevent proper airflow, leading to unusual noises.
Check your filters first when troubleshooting air leak sounds. Remove and inspect both pre-motor and post-motor filters. Hold them up to light—if you cannot see through them easily, they need cleaning or replacement. Empty your dust chamber completely, even if it appears only partially full. According to research from Consumer Reports, maintaining clean filters can improve vacuum efficiency by up to 50 percent.
Damaged or Loose Hoses
The vacuum hose represents one of the most vulnerable components. Hoses crack with age, develop holes from sharp objects, or become loose at connection points. Run your hand along the entire length of the hose while the vacuum operates. You’ll feel air escaping from any holes or cracks. Additionally, check both ends where the hose connects to the vacuum body and the floor attachment.
Cracks often develop at bend points where the hose flexes repeatedly. Small punctures can occur when vacuuming near furniture or accidentally running over the hose. Even tiny holes create noticeable whistling sounds because air moves through them at high velocity.
Worn Gaskets and Seals
Gaskets and rubber seals line every major connection point in your vacuum. These components create airtight seals between the dust chamber and body, around the filter housing, and at hose connection points. Over time, rubber deteriorates, becoming brittle and losing its sealing ability. However, this wear happens gradually and can go unnoticed until leaks become obvious.
Inspect all visible gaskets for cracks, compression marks, or hardening. Press gently on rubber seals—they should feel flexible and spring back. Hardened, cracked, or flattened gaskets need replacement. Most vacuum manufacturers sell replacement gasket kits specific to their models.
Loose or Missing Components
Sometimes the fix is surprisingly simple. A dust chamber lid that hasn’t clicked fully into place, a filter cover that’s slightly askew, or a hose that hasn’t seated completely can all cause air leak sounds. Therefore, systematically check every removable component to ensure proper installation.
Remove and reinstall each part carefully, listening for audible clicks or feeling for secure fits. Many vacuum components feature alignment markers or tabs that must line up correctly. Missing screws or clips can also prevent components from sealing properly.
Step-by-Step Repair Process
Initial Diagnosis
Start your repair by isolating the leak location. Turn on the vacuum and listen carefully. Move your hand around different areas while the machine runs, feeling for escaping air. Mark any suspected leak points with tape or a marker. This systematic approach saves time and ensures you don’t miss multiple leak sources.
Create a checklist of inspection points: dust chamber seal, filter housing, hose connections, floor attachment connection, and any access panels. Work through each area methodically.
Fixing Hose Leaks
For minor hose cracks or small holes, several repair options exist. Clean the damaged area thoroughly with rubbing alcohol. Once dry, wrap the crack tightly with duct tape or electrical tape, overlapping several layers. For a more permanent solution, apply flexible vinyl repair tape, which stretches and adheres better to curved surfaces.
Larger holes or severely cracked hoses require replacement. Measure your hose diameter and length before purchasing a replacement. Universal hoses work with many models, though manufacturer-specific hoses ensure the best fit. Installation typically involves removing clips or releasing collar locks at each end, then reversing the process with the new hose.
Replacing Filters and Cleaning Components
Remove all filters according to your vacuum’s manual. Washable filters should be rinsed under cool water until the water runs clear, then allowed to air dry completely for at least 24 hours. Never reinstall damp filters, as moisture can damage the motor. Replace disposable filters every three to six months, or more frequently in homes with pets or allergies.
While filters dry, thoroughly clean the dust chamber with a damp cloth. Remove any debris stuck around seals or in corners. Check the chamber for cracks—plastic chambers can develop stress fractures over time.
Addressing Gasket Issues
If you’ve identified worn gaskets, ordering replacements is straightforward. Note your vacuum’s exact model number and search for gasket replacement kits. Meanwhile, a temporary fix involves applying a thin bead of clear silicone sealant around the existing gasket. Allow 24 hours for curing before using the vacuum.
When installing new gaskets, ensure the receiving surface is clean and dry. Position gaskets carefully in their grooves, avoiding twisting or stretching. Some gaskets require slight lubrication with silicone spray to prevent tearing during installation.
Reconnecting Loose Parts
Examine every connection point where components join. Dust chamber lids often have multiple locking points that must all engage simultaneously. Press firmly until you hear distinct clicks. Hose connections may require a twisting motion to lock properly. Check your manual for specific assembly instructions if connections seem unclear.
Missing clips or broken locking tabs can often be replaced individually without replacing entire assemblies. However, contact the manufacturer or search online parts retailers using your model number to find specific replacement parts.
Preventing Future Air Leaks
Regular maintenance prevents most air leak problems. Empty the dust chamber after each use or when it reaches the fill line. Clean or replace filters on schedule. Inspect hoses monthly for early signs of wear. Store your vacuum in a climate-controlled area, as extreme temperatures accelerate rubber deterioration.
Additionally, use your vacuum properly to avoid damage. Don’t run over the hose, avoid vacuuming sharp objects when possible, and never pull the vacuum by its hose. These simple habits extend component life significantly.
According to the U.S. Department of Energy, well-maintained vacuums use less energy and clean more effectively, potentially reducing cleaning time by 30 percent.
When to Seek Professional Help
Most air leak repairs fall within DIY capability. However, some situations warrant professional attention. If the leak originates from inside the motor housing, professional repair or replacement becomes necessary. Similarly, if you’ve addressed all accessible components but whistling persists, an internal issue likely exists.
Strange burning smells accompanying whistling sounds suggest motor problems requiring immediate professional evaluation. Never continue operating a vacuum that smells burnt, as this poses fire risks.
Conclusion
Fixing a vacuum air leak sound doesn’t require advanced technical skills or expensive tools. By systematically checking filters, hoses, gaskets, and connections, you can identify and resolve most issues within minutes. Regular maintenance and proper handling prevent future problems, ensuring your vacuum operates quietly and efficiently for years. Remember that the distinctive whistling noise serves as an early warning system—addressing leaks promptly protects your vacuum’s motor and maintains optimal cleaning performance. Therefore, don’t ignore these sounds. With the knowledge from this guide, you can confidently diagnose problems and implement effective solutions, saving money on professional repairs while extending your vacuum’s lifespan.
Frequently Asked Questions
Why does my vacuum whistle only when using certain attachments?
The whistling likely indicates a poor seal between the attachment and hose or an issue with the attachment itself. Check the connection point for debris or damage. Some attachments have adjustable air vents that create whistling when partially open. Ensure all vents are fully closed or fully open, as intermediate positions cause noise.
Can I use my vacuum if it’s making a whistling sound?
While not immediately dangerous, continuing to use a vacuum with air leaks reduces cleaning effectiveness and forces the motor to work harder. This extra strain can shorten motor life. Fix the leak promptly to prevent potential motor damage and maintain efficient operation.
How often should I replace vacuum gaskets?
Gasket lifespan varies by usage frequency and storage conditions. Inspect gaskets every six months. Replace them when you notice cracking, hardening, or compression marks. Most gaskets last two to three years with normal use. However, vacuums stored in garages or basements with temperature fluctuations may need more frequent gasket replacement.
Why does the whistling get louder over time?
Small cracks or gaps expand gradually with continued use. Vibration during operation, temperature changes, and normal wear cause initial damage to worsen. What starts as a subtle whistle can become a loud shriek as gaps enlarge. Address whistling sounds as soon as you notice them to prevent progression.
Is it normal for vacuums to make some noise?
Vacuums naturally produce motor noise and airflow sounds. However, whistling, hissing, or high-pitched squealing indicates problems. Normal vacuum operation sounds like a consistent hum or whoosh. Any sudden changes in sound patterns or new unusual noises deserve investigation.
Related Topics:
Why Is My Vacuum So Loud? The Ultimate Noisy Vacuum Troubleshooting Guide