
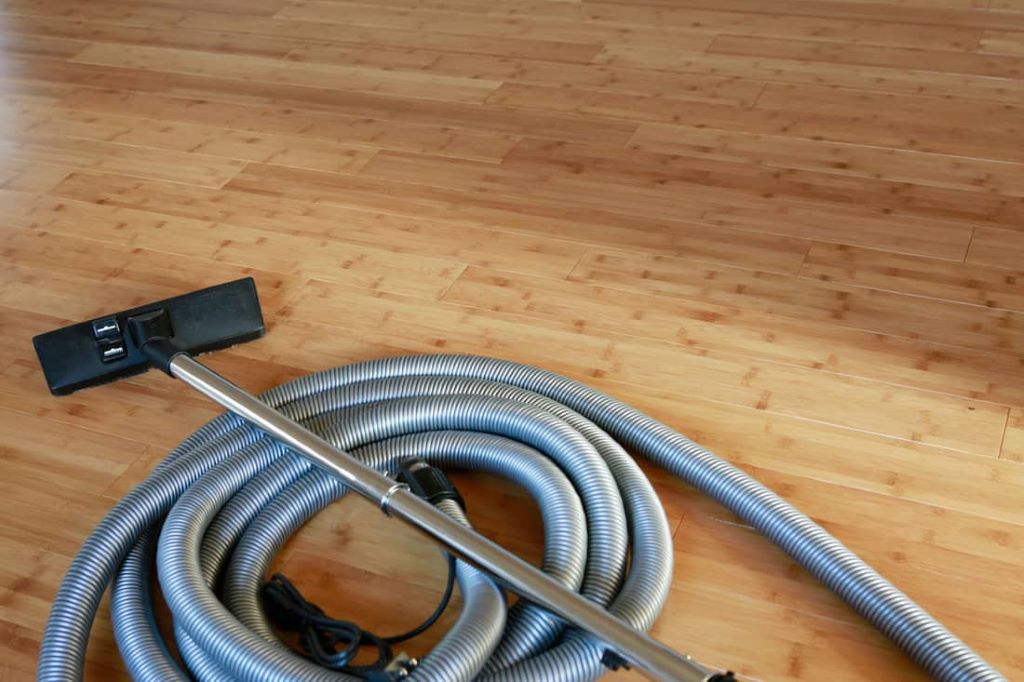
A central vacuum system installed in your home can make cleaning much easier and more convenient. No more lugging around a heavy canister vacuum or untangling cords. Just grab the hose and start vacuuming. It’s fantastic—until it stops working because of a clog. Don’t despair! While central vacuum clogs can be frustrating, they are often accessible to clear independently without calling in professional help.
In this guide, I’ll walk you through the common causes of clogged central vacuums and show you step-by-step instructions for getting your system back up and running. With a few simple tools and easy troubleshooting, you can have your central vacuum unclogged and ready to go again in no time.
What Causes Central Vacuum Clogs?
Central vacuum systems are pretty straightforward. The inlets around your home are connected via hidden piping to a primary motor and debris collection canister, usually in the garage or basement. When you turn on an inlet valve, suction from the central motor travels through the pipes, pulling dirt through the hose and depositing it in the collection canister.
So, where does it get clogged? There are a few common culprits:
Clogs in the Inlet Valves
The inlet valves allow airflow when opened but close when not used to prevent pipe debris from escaping into the room. If something gets stuck in this valve, such as a sock or toy, it can prevent it from fully closing and cut off suction.
Clogs in the Main Pipe System
The network of pipes running through your walls and floors can become clogged by more oversized items that get sucked through the hose, like packing peanuts or pine needles. Debris accumulates at elbow joints and narrower tubes.
Full Collection Canister
If the collection canister fills up entirely before you empty it, densely packed dirt can clog the vacuum intake opening. Explore how a central vacuum system works, and always open it regularly to prevent this issue.
Clogs Near the Vacuum Unit
The area around the vacuum motor is also prone to clogs, as any debris traveling through the pipes eventually ends up here.
Troubleshooting Your Central Vacuum Clogs
Before you start taking things apart to clear a clog, it’s good to do some initial troubleshooting to locate the clog location. Here are some steps to try first:
- Check inlet valves: Start by testing suction at different inlet valves around the house. If suction is strong at some inlets but weak or nonexistent at others, the clog is likely between the working and non-working inlets.
- Listen for airflow: Turn on the central vacuum unit and place your ear near inlet valves and along pipe joints. You may be able to hear where the airflow stops, indicating a clog.
- Look for debris: Open the collection canister and vacuum the motor housing for packed dirt or visible debris. A full canister or debris around the motor points to a clog here.
- Check recent usage: Think back to what and where you vacuumed last. If the clog appears after cleaning a particular room, it will likely be near that inlet. Recall if you sucked up any items that may be blocking the pipes.
- Feel for suction: Put your hand over inlet valves while the vacuum runs to feel airflow strength. Weak or no suction means a clog near that inlet.
By combining these troubleshooting steps, you should get a good idea of where the clog is occurring. Now, let’s look at how to clear some of the most common central vacuum clog locations.
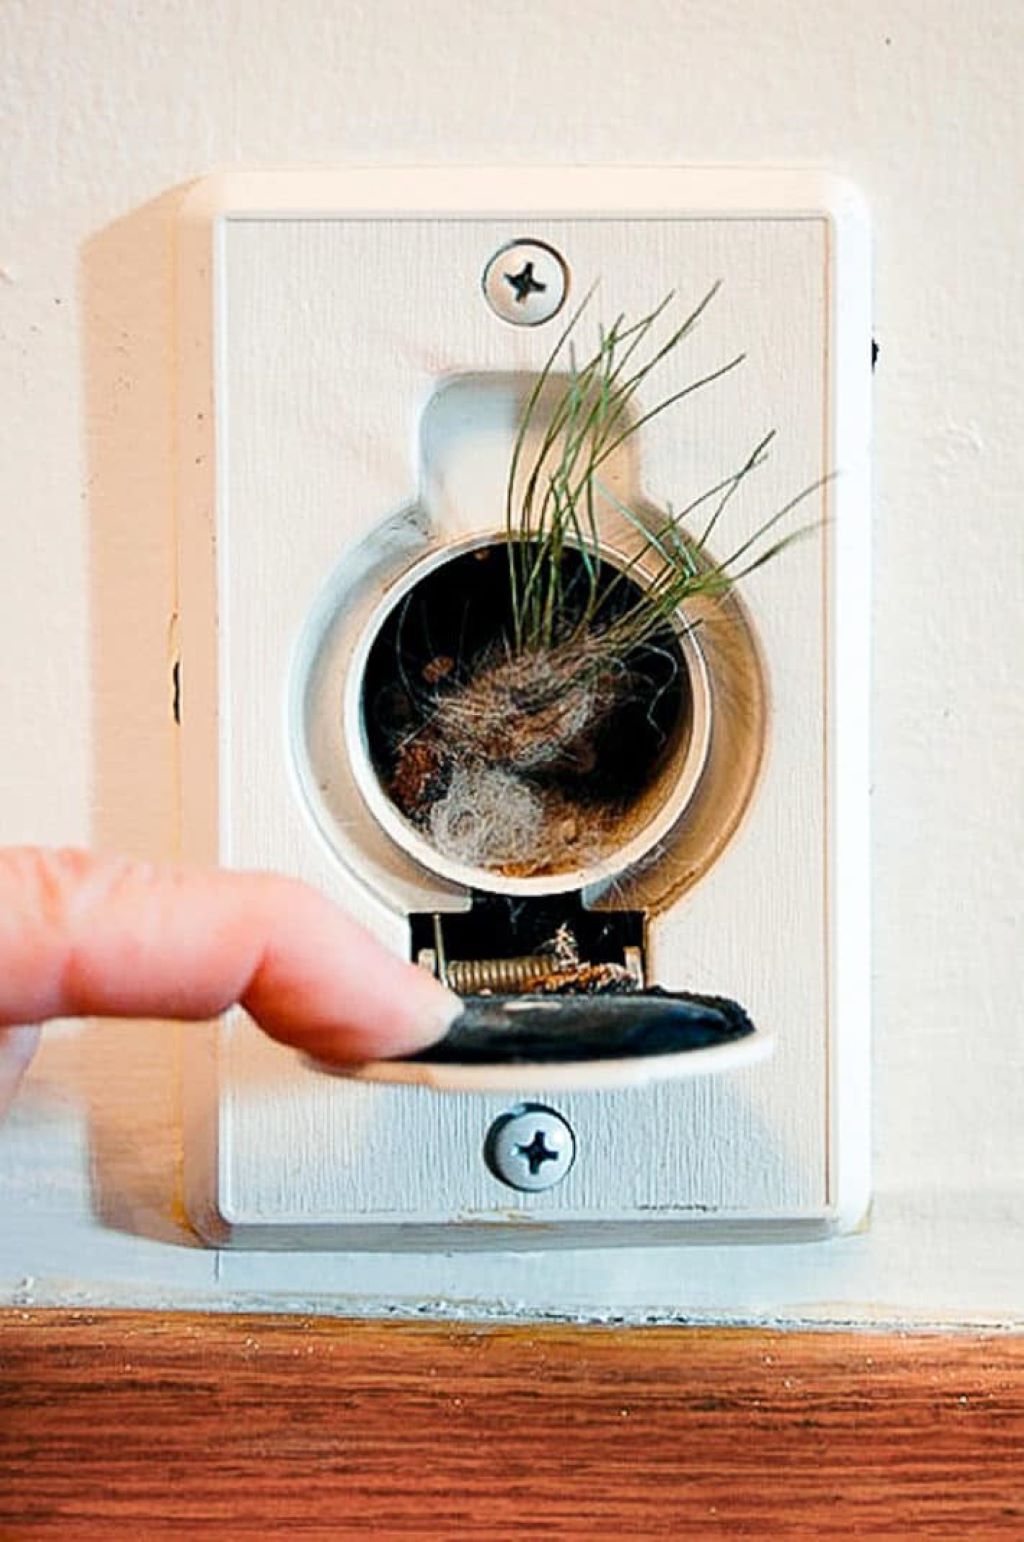
Clearing Clogged Inlet Valves
If you’ve isolated the clog to a particular room’s inlet valve, here’s how to clear it:
- Turn off the central vacuum unit to turn off suction.
- Remove the valve cover plate by simply pulling it off the wall.
- Inspect the inlet and peer down into the valve tunnel with a flashlight. Look for any debris or blockages.
- Use needle-nose pliers or tweezers to remove any visible debris or objects stuck in the valve tunnel.
- Check the rubber flap inside the tunnel. Ensure it is intact and sealed correctly against the tunnel walls when closed.
- Replace the inlet cover. Turn on the vacuum unit and test suction through the hose. The clog should be cleared.
Be very careful not to damage the rubber flap when removing debris. You must replace the inlet valve if it gets damaged or doesn’t fully seal. Contact the central vacuum manufacturer for replacement parts specific to your model.
Unclogging the Main Pipe System
Clearing a clog from the pipes in the walls takes a bit more work but can be done without significant disassembly using two unique tools: a vacuum test plug and vacuum cleaning rods.
Gather the Right Tools
Here’s what you’ll need:
- Vacuum test plug – This seals off inlet valves so you can isolate pipe sections.
- Vacuum cleaning rods – These flexible rods push through the pipes to clear clogs. Get a general kit or one sized for your pipe diameter.
- Inlet wrench – Allows opening inlet covers that are tightly sealed. It makes accessing test plug ports easier.
- Flashlight – Helps you see down the pipes when clearing clogs.
- Screwdriver – Helps open inlet cover plates and access test plug ports if needed.
Isolate the Clogged Section of the Pipe
- Seal off inlet valves in rooms with weak suction using the test plugs one at a time. This isolates the clogged section of pipe between working and non-working inlet valves.
- Start by plugging the valves in rooms farthest from the vacuum unit, leaving valves with strong suction unplugged. Keep plugging valves closer to the unit until you find where the suction stops.
- Use a vacuum rod pushed through an unplugged inlet to poke through the pipes and help locate the clog within the isolated section. Can you move past it from either direction?
Clear the Clog
Once you’ve identified the location of the clog between two inlets, do this:
- Unseal both inlet valves at the ends of the problem section.
- Insert the vacuum rods into one inlet and push through toward the other.
- When you reach resistance, twist and push firmly but carefully to drive the rods through the debris clog.
- Use a flashlight to look down the pipes and inspect them. Keep feeding rods through until the clog is cleared.
- Do another suction test to confirm total airflow is restored in that section.
With patience and care, the cleaning rods can clear even stubborn clogs to get your system working again. Take your time and be careful not to damage the pipes when pushing through tight blockages.
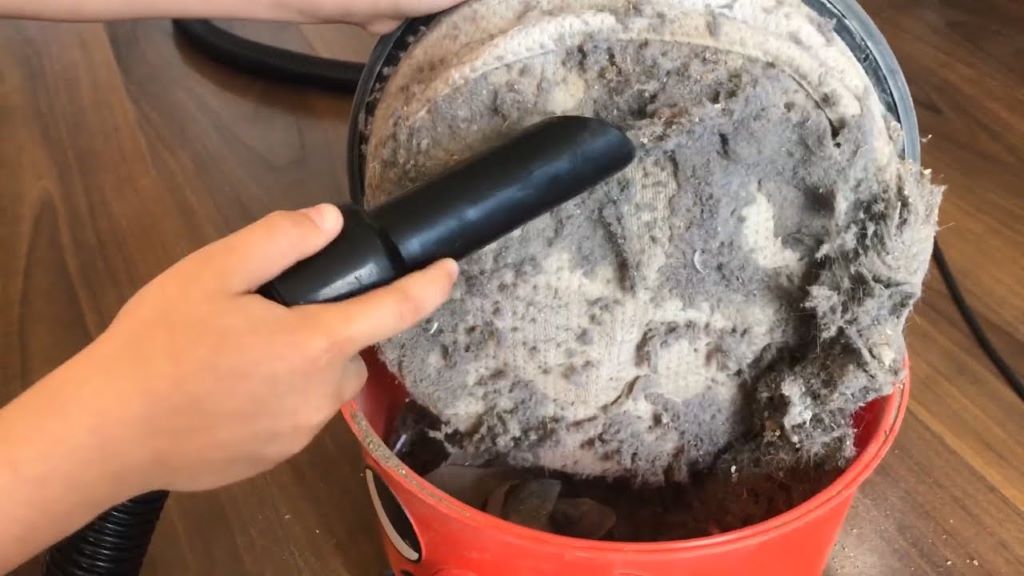
Emptying a Full Collection Canister
If you checked and found your central vacuum canister is packed full of debris, this is likely causing the loss of suction. Thankfully, it’s easy to fix:
- Locate the canister mounted on or near the central vacuum motor unit. Look for a latch or button to disengage the canister.
- Carefully remove the packed dirt container from the motor housing. Some models have the canister directly attached; others use a removable bin.
- Empty the contents of the canister into a garbage bag. Be careful not to create a mess.
- Inspect the canister inlet port for any packed dirt blocking airflow. Use a stick or broom handle to poke loose any compacted debris.
- Reinstall the empty canister into the vacuum motor housing, ensuring it seals and latches properly.
- Turn on the motor and check for fully restored suction.
Be sure to note how full the canister was when you checked it. That way, you know how long you can go between emptying before suction loss recurs. Add emptying the canister to your regular cleaning routine.
Clearing Clogs Near the Vacuum Motor
For clogs right around the vacuum motor itself, here are tips to clear them:
- Remove the motor housing cover and inspect for visible debris near the intake opening. Remove anything you see blocking airflow.
- Use a broomstick or something similar to dislodge compacted dirt around the intake port.
- Detach the motor intake pipe from the motor (usually a clamp connection). Inspect the inside for debris and clean out thoroughly.
- Check the exhaust outlet for anything blocking it and clean it out.
- Remove and clean the motor exhaust filter if your model has one.
- Reassemble everything, ensuring seals are tight with no leaks or gaps allowing suction loss.
- Turn on the motor and verify that the total suction capacity is restored.
With the intake path cleared, your central vacuum should regain full power.
Be careful when working around the motor itself. Ensure power is disconnected before disassembly, and don’t touch the electrical components. Refer to your owner’s manual if you have questions about adequately accessing the motor intake and exhaust areas.
If you’ve thoroughly checked and cleared debris from the main problem areas but are still experiencing suction issues, there may be a deeper problem with your central vacuum system. Issues like leaks in pipes or issues with the motor itself will require professional service. Make sure to thoroughly troubleshoot the common clog locations before calling a repair technician.
When to Call in a Professional
While many central vacuum clogs can be cleared through DIY troubleshooting, sometimes it’s best to leave the job to the professionals. Here are signs it’s time to call in backup:
- You isolated the clog location but can’t reach it to clear it yourself. Only technicians have the equipment to access in-wall piping.
- After you’ve checked and cleared all common problem areas, the suction issue persists. There may be a more complex underlying issue.
- You damage piping or components while trying to clear a clog. Technicians should do anything more than surface-level repairs to uphold safety.
- You keep experiencing frequent clogs and loss of suction for no identifiable reason. Have an expert inspect your system.
- Electrical issues arise with the central vacuum motor unit. Never attempt to repair these yourself.
The cost of hiring a central vacuum repair technician is likely between $100 and $250, depending on the issue and how long it takes to fix it. This price is well worth it for the expertise they provide to fix underlying system problems you can’t tackle alone.
Preventing Future Clogs
An ounce of prevention is worth a pound of cure for central vacuum clogs. Here are proactive maintenance tips to avoid problems down the road:
- Empty the canister regularly – Don’t let debris accumulate to the point of blocking intake airflow. Stick to a schedule.
- Avoid vacuuming liquids – Wet dirt clogs more easily. Use a mop instead for spills.
- Go easy on the long debris – Items like hair and string can wrap around themselves and accumulate. Avoid sucking up huge loads.
- Check inlet valves – Periodically inspect them for damage, allowing debris to enter the piping.
- Clean intake filters – If your motor has filters, keep them debris-free for maximum airflow.
- Inspect pipes annually – Have a technician do a yearly pipe inspection to find and seal any leaks allowing dirt to enter.
- Consider preventative cleaning – Some companies offer complete pipe cleaning services on a schedule to prevent gradual debris buildup.
These tips will keep your central vacuum running optimally for years and prevent frustrating clog headaches!
Frequently Asked Questions
What if I can’t find where the clog is located?
- Methodically seal off inlet valves with test plugs until you isolate the problem area between working and clogged valves. Listen for airflow changes as you go. Also, use vacuum cleaning rods to probe the piping for blockages. Call a technician who can run a camera through the pipes to identify the clog if needed.
What should I do if the cleaning rods get stuck in the pipes?
- Don’t panic; never try to pull cleaning rods out by force. This can damage the pipes. Instead, use a lubricant like WD-40 to coat the rods liberally. Let it sit for 10-15 minutes. The lubricant will dissolve debris buildup, allowing you to pull the rods out slowly slowly.
I accidentally damaged my inlet valve flap. How do I replace it?
- Each central vacuum manufacturer uses specific valve part designs. Look at your make and model online for a suitable replacement valve flap kit. Watch YouTube tutorials to remove your old valve and install the new replacement properly. Take care not to damage the piping.
How often should I be emptying the collection canister?
- It depends on your home size, but a good rule of thumb is to check and empty the canister after every 5-8 full vacuum sessions or about every 2-3 months minimum. Letting it overfill to the point of blocking vacuum airflow will lead to loss of suction.
What should I do if clearing clogs doesn’t solve my suction problems?
- If you’ve thoroughly checked all common clog points and are still experiencing a lack of suction, there may be an underlying issue, like a damaged inlet valve not sealing properly or a leak in the piping. Call a professional central vacuum repair technician to inspect and identify problems requiring more advanced repairs.
In Summary
Losing suction in your central vacuum system due to clogs can be frustrating. But in most cases, you can quickly pinpoint the location of the clog and clear it yourself with minimal tools and a little elbow grease. Start by methodically isolating the problem area, then use cleaning rods, your fingers, or improvised tools to dislodge the debris causing the blockage gently.
The best home cleaning tips are essential for maintaining a pristine living space. Be sure to take preventative measures like regular canister emptying and pipe inspections to keep clogs from occurring in the first place. But when they inevitably happen, follow this guide to get your central vacuum back to peak sucking in no time. The satisfaction of restored full-power suction is worth the effort to unclog your system DIY. Here’s to smooth central vacuuming ahead!