
Are you tired of that old bathtub taking up space in your bathroom? Maybe you’ve found yourself using the shower more often and wish you could convert your bathtub into a more practical and modern shower. Well, you’re in luck! In this guide, we’ll walk you through the process of turning your old bathtub into a sleek and functional shower. Say goodbye to unnecessary space and hello to a revitalized bathroom! This article is presented by Marypwaters.com.
1. Evaluate the Space
Before you embark on this transformation journey, take a good look at your bathroom layout. Consider the available space and how a shower would fit in. Assess the plumbing and make sure it’s compatible with a shower installation. It’s also a great time to decide whether you want a prefabricated shower stall or a custom-tiled one.
2. Gather Your Tools and Materials
For this project, you’ll need various tools and materials, including:
- Screwdrivers
- Adjustable wrench
- Hammer
- Drill
- Level
- Waterproofing materials
- Tiles and grout (if going for a tiled shower)
- Shower fixtures
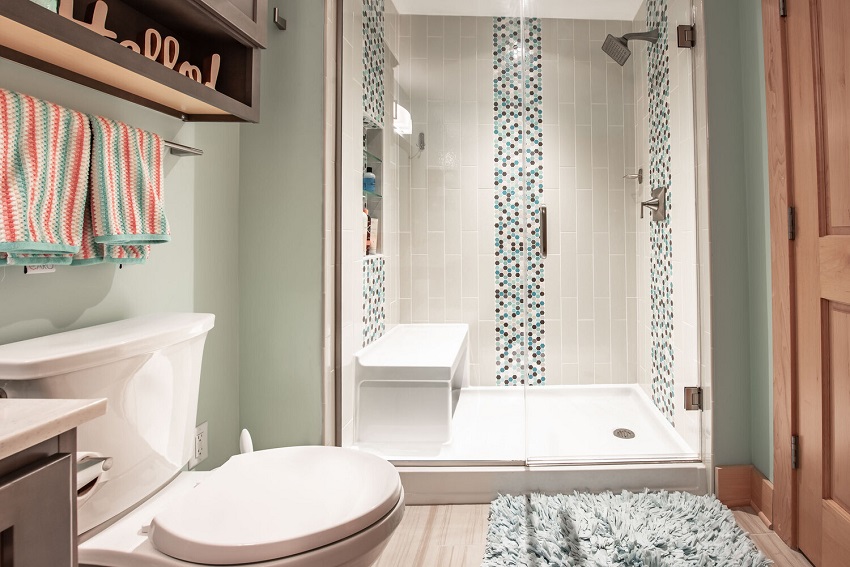
3. Remove the Bathtub
Start by disconnecting the water supply and drain. Remove any faucets, knobs, and accessories attached to the shower tray or bathtub. Then, carefully remove the shower tray or bathtub itself. This may require some cutting and prying. Make sure to wear appropriate safety gear and work systematically.
4. Prepare the Plumbing
Depending on your chosen shower configuration, you might need to make adjustments to the plumbing. This could involve relocating pipes and drains to fit the new shower layout. It’s crucial to ensure proper drainage and water flow to prevent future issues.
5. Install the Shower Pan
If you’re opting for a tiled shower, installing the shower pan is the next step. The shower pan provides a waterproof base for your shower. Make sure to follow manufacturer instructions and use appropriate waterproofing materials to prevent leaks.
6. Wall Preparation
For a tiled shower, you’ll need to prepare the walls by creating a backer board surface. This surface offers a sturdy foundation for your tiles. Measure and cut the backer board to fit the shower area, then secure it in place.
7. Tile the Shower Area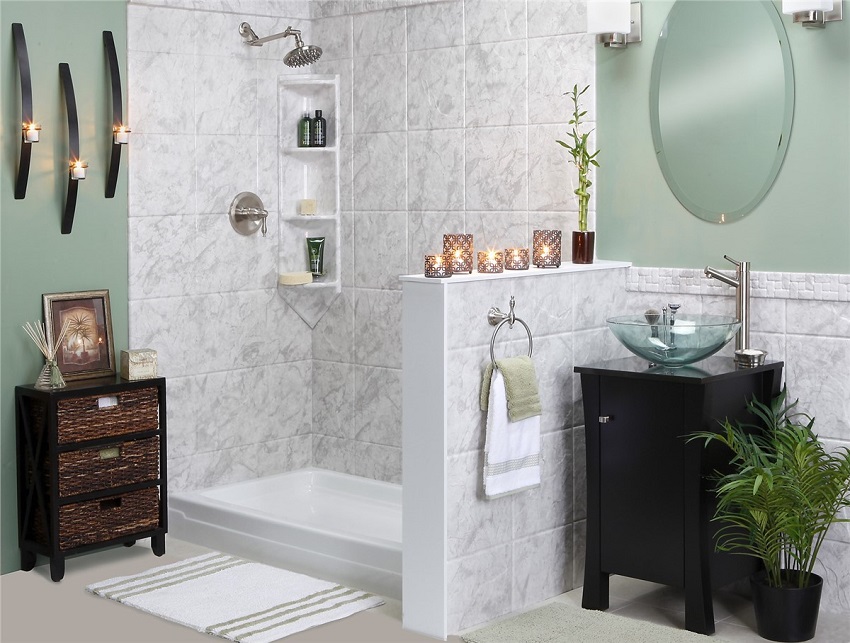
Now comes the fun part – tiling! Choose your desired tiles and start the installation process. Remember to start from the bottom and work your way up. Use spacers to ensure even tile placement and apply grout once the tiles set.
8. Install Fixtures
Whether it’s a pre-fabricated shower stall or a custom-tiled one, it’s time to install the shower fixtures. This includes the showerhead, faucets, and knobs. Follow the manufacturer’s instructions and use plumber’s tape to prevent leaks.
9. Test and Inspect
Once everything is in place, turn on the water and test your newly transformed shower. Check for any leaks, proper drainage, and water pressure. Make any necessary adjustments before proceeding.
10. Finishing Touches
Add caulk along the edges of the shower to seal any gaps and prevent water seepage. Install any additional accessories you want, such as shelves or a shower caddy. Finally, give your new shower a thorough cleaning and enjoy your revamped bathroom space!
Conclusion
Transforming an old bathtub into a shower is a rewarding project that can breathe new life into your bathroom. By following these steps, you can achieve a successful conversion that combines functionality and aesthetics seamlessly. Remember to take your time, plan meticulously, and enjoy the process of creating a modern and efficient shower space.
FAQs
Q1: Can I undertake this project on my own?
Absolutely! While some tasks might require a bit of DIY experience, many homeowners successfully complete this project with proper planning and patience.
Q2: How long does the conversion process usually take?
The timeline varies based on factors like the type of shower you’re installing and your familiarity with DIY projects. On average, it could take a few days to a week.
Q3: What if I encounter plumbing issues during the process?
If you run into plumbing challenges, it’s best to consult a professional plumber to ensure the job is done correctly and to prevent any future problems.
Q4: Can I use a shower kit for the conversion?
Yes, shower kits are available and can simplify the process. Just ensure that the kit fits your space and preferences.
Q5: Is waterproofing really necessary?
Absolutely. Proper waterproofing is crucial to prevent water damage and mold growth. Be sure to follow waterproofing best practices during the installation.