
When it comes to creating documents that are clean, organized, and visually appealing, Microsoft Word is the go-to tool for many. One common type of document that professionals often need to create is a bulletin. Whether you’re designing a bulletin for your company’s internal announcements, a community event, or a school project, Microsoft Word provides the features and flexibility to make the process seamless. In this article, we’ll guide you through the steps to create a bulletin in Word, from formatting to design, ensuring that your end result is polished and professional. This article is presented by Magazinemi.com.
Choosing the Right Template
When you open Microsoft Word, you’ll be presented with a variety of template options. To create a bulletin, it’s best to start with a template that aligns with your design preferences. Click on “File” and then “New” to browse through the available templates. Look for categories like “Newsletters” or “Brochures” as they often contain templates suitable for bulletins. Selecting a template as your starting point can save you time and provide a solid foundation for your design. Discover digital bulletin board ideas.
Structuring Your Bulletin
A well-structured bulletin is easy to navigate and understand. Consider using headings to separate different sections of your bulletin. You can achieve this by using the “Styles” feature in Word. Apply the “Heading 1” style to the main sections and use “Heading 2,” “Heading 3,” and so on for subsections. This not only adds visual hierarchy but also enhances the accessibility of your document.
Inserting and Formatting Text
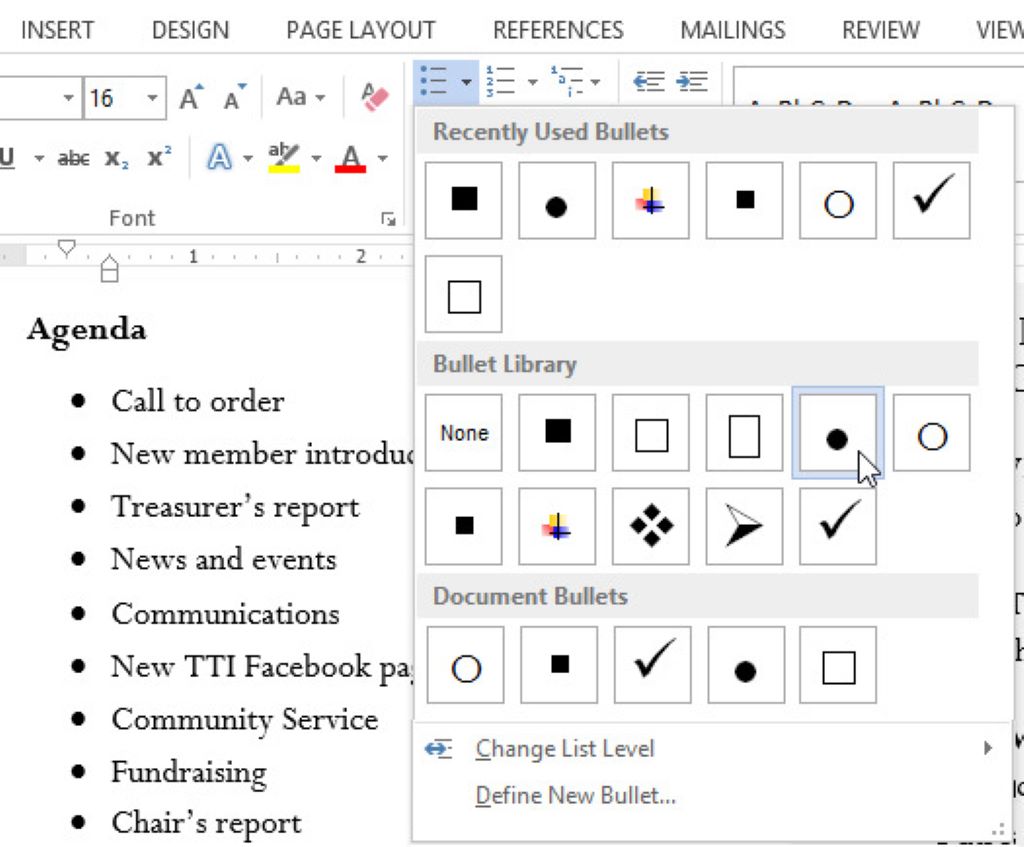
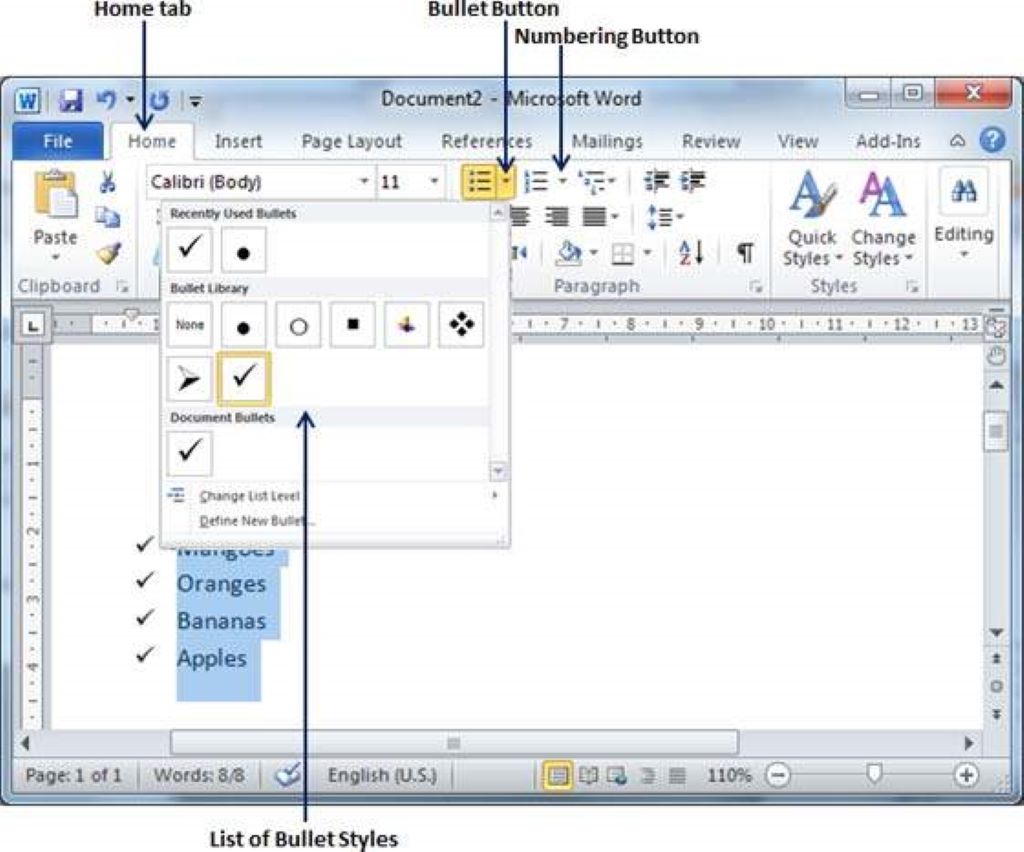
Now it’s time to add content to your bulletin. Begin by typing or pasting the text into the appropriate sections. As you do so, keep in mind the tone and style you want to convey. Bulletins typically include concise information, so use short sentences and paragraphs. Utilize bullet points or numbered lists to break down complex information into digestible chunks. To emphasize important details, consider using bold or italic formatting, but use them sparingly to avoid overwhelming the reader.
Incorporating Visual Elements
Visual elements, such as images and icons, can enhance the visual appeal of your bulletin. To insert an image, go to the “Insert” tab and click on “Pictures.” Choose an image that relates to the content and supports the message you’re conveying. Additionally, you can use icons to symbolize different sections or points. Websites like Iconfinder offer a wide range of icons that you can download and use in your bulletin.
Fine-Tuning the Design
To make your bulletin stand out, pay attention to the overall design. Use a consistent color scheme that matches your brand or the theme of the bulletin. Adjust the font style and size to ensure readability. Consistency is key here – make sure headings, subheadings, and body text maintain a cohesive style. If you’re not sure about your design choices, gather feedback from colleagues or peers to ensure your bulletin is visually appealing to a wider audience.
Saving and Sharing Your Bulletin
Once you’re satisfied with the content and design of your bulletin, it’s time to save and share it. Click on “File” and select “Save As” to choose a location on your computer to save the file. To share the bulletin digitally, you can convert it to a PDF by selecting “PDF” as the file format when saving. This ensures that your formatting remains intact, regardless of the device or software used to view the document.
In conclusion, understanding the buying process is crucial, much like creating a bulletin in Microsoft Word—a straightforward process that, when executed with precision, ensures effective communication of information and achieves its intended purpose seamlessly. By selecting the right template, structuring your bulletin, formatting text, incorporating visuals, and fine-tuning the design, you can create a polished and professional document that serves its purpose well. Remember that practice makes perfect, so don’t hesitate to experiment with different layouts and styles to find what works best for your specific needs.