
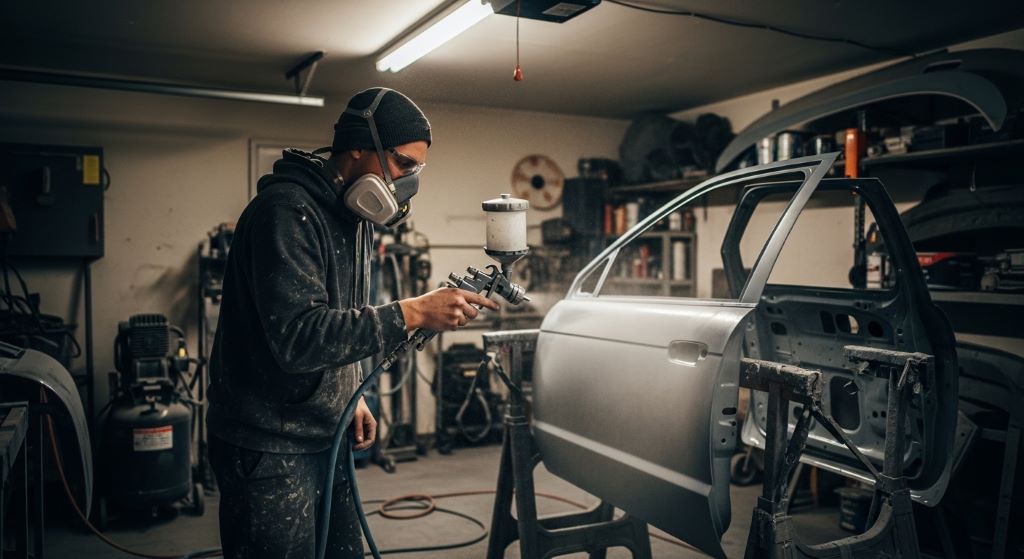
Getting a smooth, even finish on car panels does not require a professional shop or expensive tools. Many car owners successfully refresh their vehicles at home with careful prep work, affordable spray equipment, and a bit of patience. This guide walks you through every step of the process, from surface preparation to the final coat.
Why Preparation Is Everything
Before you pick up a spray can or gun, you need to prepare the surface properly. This step makes or breaks your final result. Skipping it almost always leads to peeling, bubbling, or an uneven finish.
Start by washing the panel thoroughly with soap and water. Remove all grease, wax, and road grime. After the panel dries, use a wax-and-grease remover for a deeper clean. This gives the paint a clean surface to bond with.
Next, sand the area. Begin with 180-grit sandpaper to remove old paint or rust. Then move to 320-grit for a smoother surface. Finish with 400-grit to create a fine texture that helps the primer grip. Always sand in one direction and wipe away dust with a tack cloth before moving on.
Choosing Budget-Friendly Equipment
You do not need to spend a fortune to get good results. There are a few affordable options worth considering.
Rattle cans are the most accessible choice. They work well for small panels and touch-ups. Look for automotive-grade spray paint rather than general hardware store brands. The nozzle quality and paint formula make a noticeable difference.
A budget HVLP (High Volume Low Pressure) spray gun is another great option. These guns connect to a small air compressor and give you more control over the spray pattern. Entry-level HVLP kits are available for under $50 and work well for full panels or larger sections. However, they do require some practice to master.
Whichever tool you choose, always test your spray pattern on cardboard first. Adjust the pressure and distance until you get a consistent, even fan of paint. This small step saves a lot of frustration later.
Applying Primer the Right Way
Primer is a key part of auto body repair basics. It creates a bonding layer between the metal and the topcoat. It also fills in small scratches from sanding.
Apply primer in thin, even coats. Hold the can or gun about 10 to 12 inches from the surface. Move in smooth, overlapping strokes. Do not try to cover the panel in one pass. Two or three thin coats work much better than one thick coat.
Let each coat flash dry before applying the next. Flash drying means the surface feels dry to the touch but has not fully cured. This usually takes 5 to 10 minutes depending on temperature and humidity. After the final primer coat, let it cure fully, then lightly sand with 600-grit wet sandpaper. Wipe clean before moving to the base coat.
Mastering Paint Layering for a Smooth Finish
Paint layering is one of the most important panel painting tips you can follow. Applying too much paint at once causes runs and drips. Applying too little leaves the surface looking thin and uneven.
Start with a mist coat. This is a very light pass that gives the surface something for the next coats to grip. Let it dry for about five minutes.
Then apply two to three medium coats. Each coat should cover the panel evenly without running. Move at a steady pace and keep your distance consistent. Overlap each pass by about 50 percent. This prevents stripes and gives you better coverage.
Allow each coat to flash dry before the next. If you see a run, do not try to brush it away wet. Let it dry completely, then sand it smooth and reapply.
Applying Clear Coat for Protection
Clear coat is the final layer of protection over your base coat. It adds gloss and shields the paint from UV rays, moisture, and minor scratches. Skipping it leaves your paint job vulnerable.
Apply the clear coat in the same way as the base coat. Use thin, even passes. Two to three coats is usually enough. Let each one flash dry before the next.
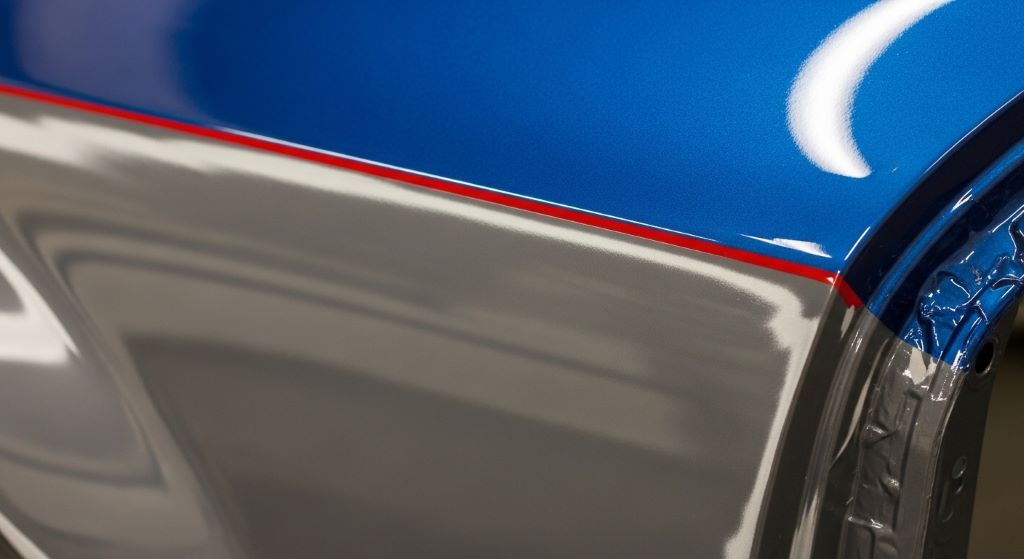
After the final coat cures for at least 24 hours, you can wet sand with 1500-grit sandpaper to remove any texture or orange peel. Then polish the panel to bring out the gloss. A hand-applied polish works fine for budget jobs.
Tips for Working in a Budget Environment
Temperature and lighting matter more than most people expect. Try to work in temperatures between 60°F and 85°F. Cold temperatures slow drying and can cause the paint to crack. High humidity leads to moisture trapping, which creates a milky or dull finish.
Additionally, good lighting helps you spot runs, thin spots, and missed areas as you work. A simple work light or even natural daylight makes a big difference.
Use masking tape and plastic sheeting to protect areas you do not want to paint. Apply the tape in clean, straight lines for sharp edges. Press it down firmly so paint does not bleed underneath.
Finally, work in a dust-free area as much as possible. Dust particles settle into wet paint and create a rough texture. A simple tarp around your workspace helps reduce this problem.
Common Mistakes to Avoid
Even experienced painters make errors. Here are a few to watch for:
- Applying paint too thick in one pass, which causes sagging and runs
- Skipping the primer stage, which leads to poor adhesion and peeling
- Not sanding between coats, which results in a rough or uneven surface
- Painting in direct sunlight, which dries the paint too fast and causes uneven coverage
- Shaking the rattle can for too short a time, which results in inconsistent paint flow
Therefore, take your time with each step. Rushing is the number one reason budget paint jobs look amateurish.
Conclusion
Spray painting car panels at home is entirely achievable with affordable equipment and the right approach. Start with thorough surface preparation. Choose the right budget-friendly spray tool for your project. Apply primer in thin coats and follow proper paint layering techniques. Finish with a protective clear coat and light polishing. Additionally, pay attention to your environment by controlling temperature, humidity, and dust. Avoid common mistakes like rushing or applying too much paint at once. With patience and practice, you can achieve results that look far more professional than you might expect.
Frequently Asked Questions
Can I spray paint a car panel without a primer?
You can, but it is not recommended. Primer improves adhesion, fills surface imperfections, and helps the topcoat last much longer. Skipping it often leads to peeling within months.
How far should I hold the spray can from the panel?
A distance of 10 to 12 inches works well for most automotive spray paints. However, always test on cardboard first, as different products may behave differently.
How many coats of paint do I need for full coverage?
Two to three base coat layers are usually enough for solid coverage. Follow up with two to three clear coat layers. Thin, even coats always produce better results than fewer thick ones.
What should I do if my paint drips or runs?
Let the run dry completely. Do not try to fix it while wet. Once cured, sand the area smooth with 400 to 600-grit sandpaper, wipe clean, and reapply the coat.
How long should I wait between coats?
Flash drying between coats usually takes 5 to 15 minutes depending on conditions. Always check the product label for specific guidance. Rushing this step is one of the most common causes of a poor finish.
Related Topics:
How to Choose Durable Stones for Engagement Rings
Essential Third Trimester Pillows for Better Sleep