
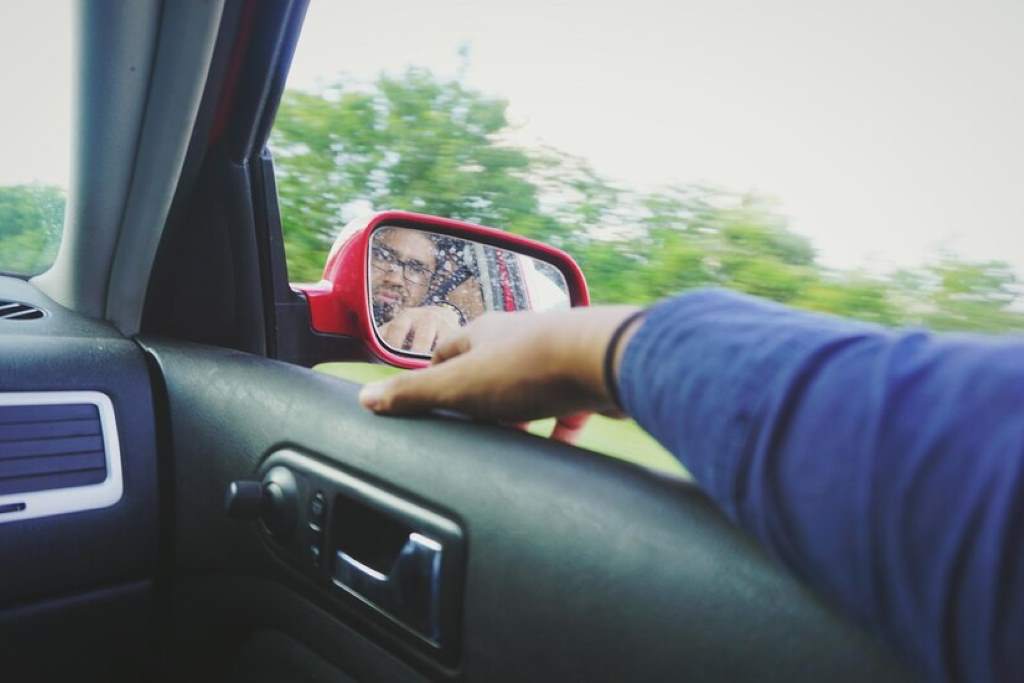
Replacing a side mirror with blind spot monitoring might sound like a daunting task, but with the right tools and guidance, it’s a manageable DIY project. Not only can it save you hundreds of dollars in labor costs, but it also empowers you to explore your vehicle’s features. This comprehensive guide will walk you through every step of the process, ensuring a successful installation. If you’re looking for trusted automotive tips, explore Autonags for detailed resources.
Understanding the Functionality of Blind Spot Monitoring Systems
Blind spot monitoring systems are integral to modern vehicles, enhancing safety by detecting objects in areas drivers may not easily see. The system employs sensors and cameras to alert drivers of nearby obstacles, reducing the risk of accidents. Did you know that blind spot accidents account for nearly 10% of all car crashes in the United States? Properly installing and maintaining this technology ensures your safety and compliance with evolving automotive standards.
Why Replace a Side Mirror With Blind Spot Monitoring?
Side mirrors with blind spot monitoring are more than just replacements; they are upgrades. These mirrors provide:
- Enhanced visibility: Eliminate blind spots effectively.
- Increased safety: Real-time alerts improve situational awareness.
- Value addition: A practical upgrade increases your car’s resale value.
Professionals charge anywhere between $200 to $500 for such replacements, but with the steps below, you can achieve professional-grade results at a fraction of the cost.

Tools and Materials You’ll Need
To successfully replace your side mirror with blind spot monitoring, gather these essentials:
- Replacement mirror (compatible with your vehicle model)
- Screwdrivers (Phillips and flathead)
- Trim removal tools
- Socket wrench set
- Wire splicer/crimper
- Electrical tape
- User manual for your vehicle
Having all the tools on hand prevents unnecessary delays and ensures a seamless process.
Removing the Damaged Side Mirror
- Disconnect the Car Battery: Always prioritize safety by disconnecting the negative terminal of your battery.
- Access the Mirror Panel: Remove the interior door panel using a trim removal tool. Be cautious to avoid damaging the clips.
- Disconnect Wiring Harness: Carefully unplug the mirror’s electrical connections, noting the arrangement for reinstallation.
- Unscrew the Mirror: Use a socket wrench to remove the screws securing the mirror to the door. Support the mirror to prevent it from falling.
This process ensures that no electrical components are damaged during removal.
Preparing for Installation
Before installing the new mirror:
- Inspect the Wiring: Check for frayed or damaged wires. Replace or repair them as needed.
- Compare Components: Ensure the new mirror matches the specifications of the old one, including wiring and mounting points.
Pro Tip: Refer to guides like how to wash a car engine at the carwash to keep surrounding areas clean and well-maintained during installation.
Installing the New Side Mirror With Blind Spot Monitoring
- Mount the Mirror: Secure the new mirror in place using the existing mounting points. Tighten the screws but avoid over-tightening to prevent cracking.
- Reconnect the Wiring: Plug in the mirror’s electrical connections. Use the wiring diagram from your user manual for accuracy.
- Test the System: Reconnect the battery and turn on your car. Test the blind spot monitoring system to ensure proper functionality.
- Reattach the Door Panel: Once everything works correctly, reattach the interior door panel.
Calibration and Final Testing
Blind spot monitoring systems often require calibration. Refer to your car’s manual for specific instructions. Calibration ensures that the sensors function accurately, alerting you to obstacles at the right time.
Tips for a Professional Finish
- Double-Check Connections: Loose wires can lead to malfunctions.
- Keep Tools Organized: Maintaining order speeds up the process.
- Test Thoroughly: Drive in a controlled environment to test the system’s reliability.
Common Mistakes to Avoid
- Skipping the Wiring Check: Faulty wires can compromise the system.
- Over-Tightening Bolts: This may cause the mirror to crack or misalign.
- Ignoring Calibration: Without it, the blind spot monitoring may fail to function.
FAQs
How long does it take to replace a side mirror with blind spot monitoring?
It usually takes about 1-2 hours for a skilled DIYer.
Can I use a generic replacement mirror?
Only if it is fully compatible with your car’s make and model.
Do I need professional tools?
Basic hand tools and a trim removal kit are sufficient for this project.
What if my blind spot monitoring doesn’t work after installation?
Check the wiring connections and calibrate the system per your car’s manual.
How much money can I save with a DIY replacement?
DIY installation can save you $200-$500 compared to professional services.
Is blind spot monitoring worth the upgrade?
Absolutely! It significantly improves driving safety and convenience.
Conclusion
Learning how to replace a side mirror with blind spot monitoring yourself is an invaluable skill that combines safety, cost-effectiveness, and technical expertise. With this guide, you’re equipped to tackle the project confidently, ensuring your vehicle’s functionality and value remain intact.