
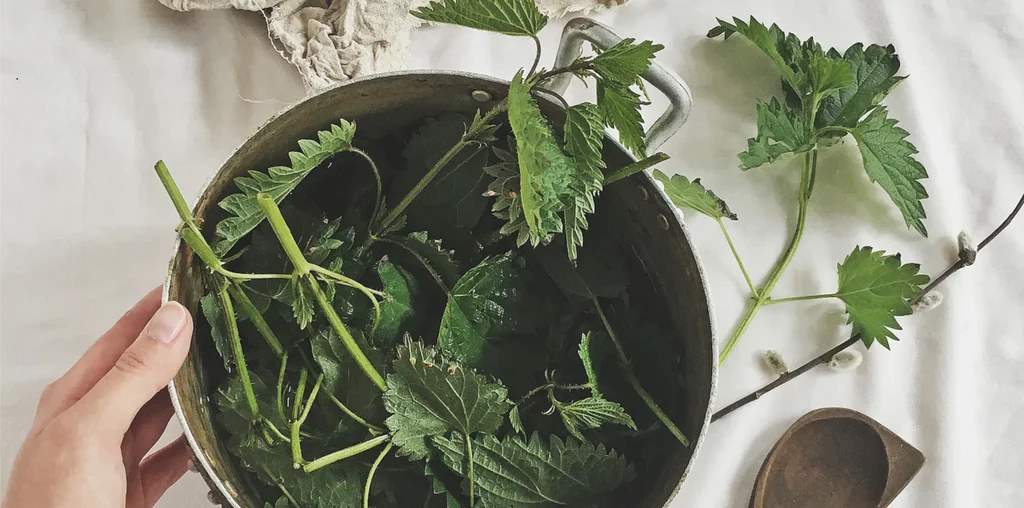
Natural fabric dyeing is a sustainable and creative way to add vibrant colors to textiles using plants from your garden. Growing and caring for dye plants allows you to connect with nature while producing eco-friendly dyes for fabrics like cotton, linen, and wool. This article from Be Gardenly provides a comprehensive guide to cultivating and maintaining plants commonly used for natural dyeing, ensuring a bountiful harvest for your dyeing projects.
Selecting the Right Dye Plants
Choosing the right plants is the first step in creating a successful dye garden. Many plants yield beautiful hues, and some are easier to grow than others. Popular choices include madder (red), woad (blue), marigolds (yellow), and indigo (deep blue). Each plant has specific growing requirements, but most thrive in well-drained soil and full sun. Before planting, research which plants suit your climate and soil type. For example, madder prefers temperate climates, while indigo thrives in warmer regions. Additionally, consider companion planting to maximize garden health. For instance, marigolds can deter pests, but if you’re growing strawberries nearby, you may need to learn how to keep ants out of strawberry beds to protect your crops.
Preparing Your Garden for Dye Plants
Proper soil preparation is essential for healthy dye plants. Most dye plants prefer loamy, well-drained soil with a neutral pH. Test your soil using a home testing kit or send a sample to a local extension service for analysis. Amend the soil with organic matter, such as compost or aged manure, to improve fertility and drainage. For example, madder roots, which produce rich red dye, need deep, loose soil to develop fully. Similarly, woad requires fertile soil to support its rapid growth. Ensure your garden receives adequate sunlight, as most dye plants need at least six hours of direct sun daily. Watering needs vary, so research each plant’s requirements to avoid overwatering or drought stress.
Planting and Propagation Techniques
Once your soil is ready, it’s time to plant. Some dye plants, like marigolds, are easily grown from seeds, while others, like indigo, may require cuttings or specific germination conditions. For instance, woad seeds should be sown in early spring, as they need cool temperatures to germinate. Madder, on the other hand, is often propagated through root divisions, as it takes several years to mature. Space plants according to their mature size to prevent overcrowding, which can lead to poor air circulation and disease. For example, indigo plants need about 18 inches of space between them to thrive. Regularly check for weeds, as they compete for nutrients and can stunt dye plant growth.
Caring for Dye Plants
Caring for dye plants involves consistent watering, fertilizing, and pest management. Most dye plants require moderate watering, keeping the soil moist but not waterlogged. Mulching with organic materials like straw or bark helps retain moisture and suppress weeds. Fertilize sparingly with a balanced organic fertilizer to avoid excessive foliage growth, which can reduce dye pigment concentration. For pest control, use natural methods like neem oil or introduce beneficial insects like ladybugs. Companion planting with pest-repellent plants, such as marigolds, can also help. However, always monitor for issues, as pests can quickly damage young plants.
Harvesting Dye Plants
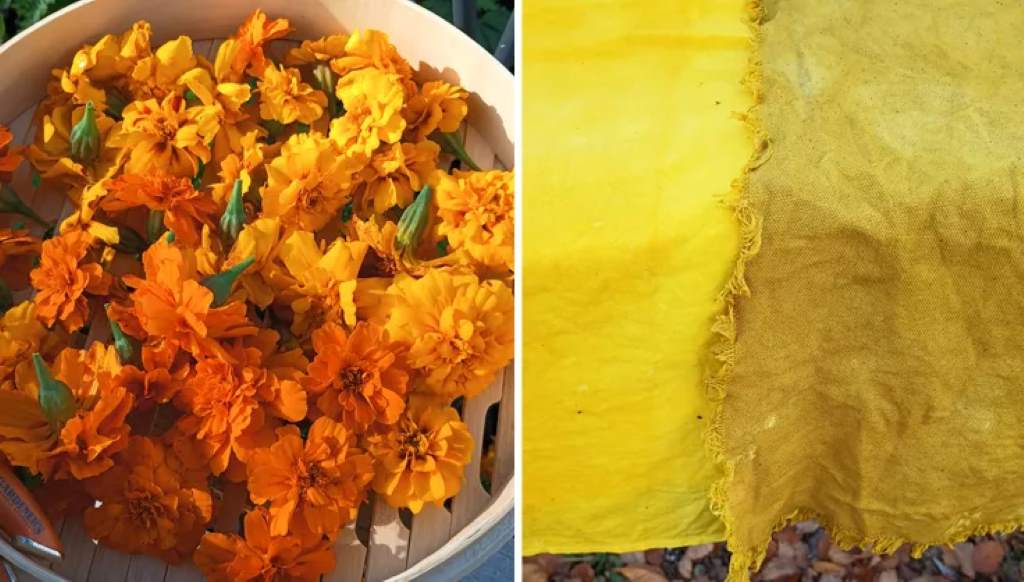
Timing is critical when harvesting dye plants to maximize pigment yield. For example, madder roots are typically harvested after two to three years when the roots are thick and rich in alizarin, the compound responsible for red dye. Woad leaves are harvested in the first year during summer for the best blue pigment. Marigolds can be picked throughout the blooming season, with flowers dried for later use. Always harvest in the morning when pigment concentration is highest. Use sharp, clean tools to avoid damaging plants, and handle roots and leaves gently to preserve their dyeing potential.
Processing Plants for Dyeing
After harvesting, processing dye plants is the next step. For madder, clean and chop roots before soaking them in water to extract the dye. Woad leaves require fermentation to release indigo precursors, a process that involves soaking and aerating the leaves. Marigold flowers can be boiled to create a dye bath. Always use stainless steel or non-reactive pots to avoid altering the dye’s color. Additionally, mordants like alum or iron are often used to fix dyes to fabrics, ensuring long-lasting colors. Experiment with small batches to test dye strength before processing larger quantities. For more on dye extraction, check Botanical Colors.
Storing Dye Plants
Proper storage ensures your dye plants remain effective for months or even years. Dry flowers like marigolds in a well-ventilated area away from direct sunlight to preserve their pigments. Store dried materials in airtight containers in a cool, dark place. Madder roots can be dried and ground into powder for easier storage and use. Label containers with the plant name and harvest date to track freshness. If you’re not ready to process fresh indigo or woad, freeze the leaves to maintain their dye potential. Proper storage prevents degradation and ensures vibrant results in your dyeing projects.
Common Challenges and Solutions
Growing dye plants can come with challenges, such as poor soil, pests, or inconsistent dye results. If plants show slow growth, test your soil and amend it with compost or nutrients as needed. Pests like aphids or caterpillars can be managed with organic sprays or by encouraging natural predators. Inconsistent dye colors may result from improper harvesting or processing. For example, harvesting woad too late in the season can reduce pigment quality. Keeping a gardening journal to track planting, harvesting, and dyeing outcomes can help identify and solve issues over time.
Sustainable Practices for Dye Gardens
Sustainability is at the heart of natural dyeing. Use rainwater for irrigation to conserve resources, and compost plant waste to enrich your soil. Rotate crops annually to prevent soil depletion and reduce pest buildup. For example, after harvesting madder, plant nitrogen-fixing crops like clover in its place. Additionally, avoid chemical pesticides and fertilizers to keep your dye garden eco-friendly. By maintaining a sustainable garden, you contribute to a healthier ecosystem while producing high-quality dyes.
Read More:
The Ultimate Raised Bed Gardening Guide
Seasonal Planting: What to Plant in Your Garden Year-Round
Conclusion
Growing and caring for plants used in natural fabric dyeing is a rewarding process that combines gardening with creative expression. By selecting the right plants, preparing your soil, and following proper care and harvesting techniques, you can produce vibrant, eco-friendly dyes for your textile projects. With patience and practice, your dye garden will thrive, providing endless opportunities for sustainable creativity. Start small, experiment with different plants, and enjoy the art of natural dyeing.
FAQs
How long does it take for dye plants to mature?
Maturation times vary. Marigolds bloom within a few months, while madder roots take two to three years to produce strong dye. Indigo and woad can be harvested in their first year.
Which plants are easiest for beginners to grow for dyeing?
Marigolds and chamomile are great for beginners due to their easy germination and low maintenance. They yield vibrant yellow dyes and adapt to various climates.
Can I grow dye plants in containers?
Yes, many dye plants, like marigolds and chamomile, thrive in containers with good drainage and adequate sunlight. Ensure pots are large enough for root growth.
How do I know when to harvest dye plants?
Harvest flowers like marigolds when fully bloomed, roots like madder after two to three years, and leaves like woad in summer for optimal pigment.
Are there natural ways to protect dye plants from pests?
Yes, use neem oil, companion planting with marigolds, or introduce beneficial insects like ladybugs to control pests without chemicals.