
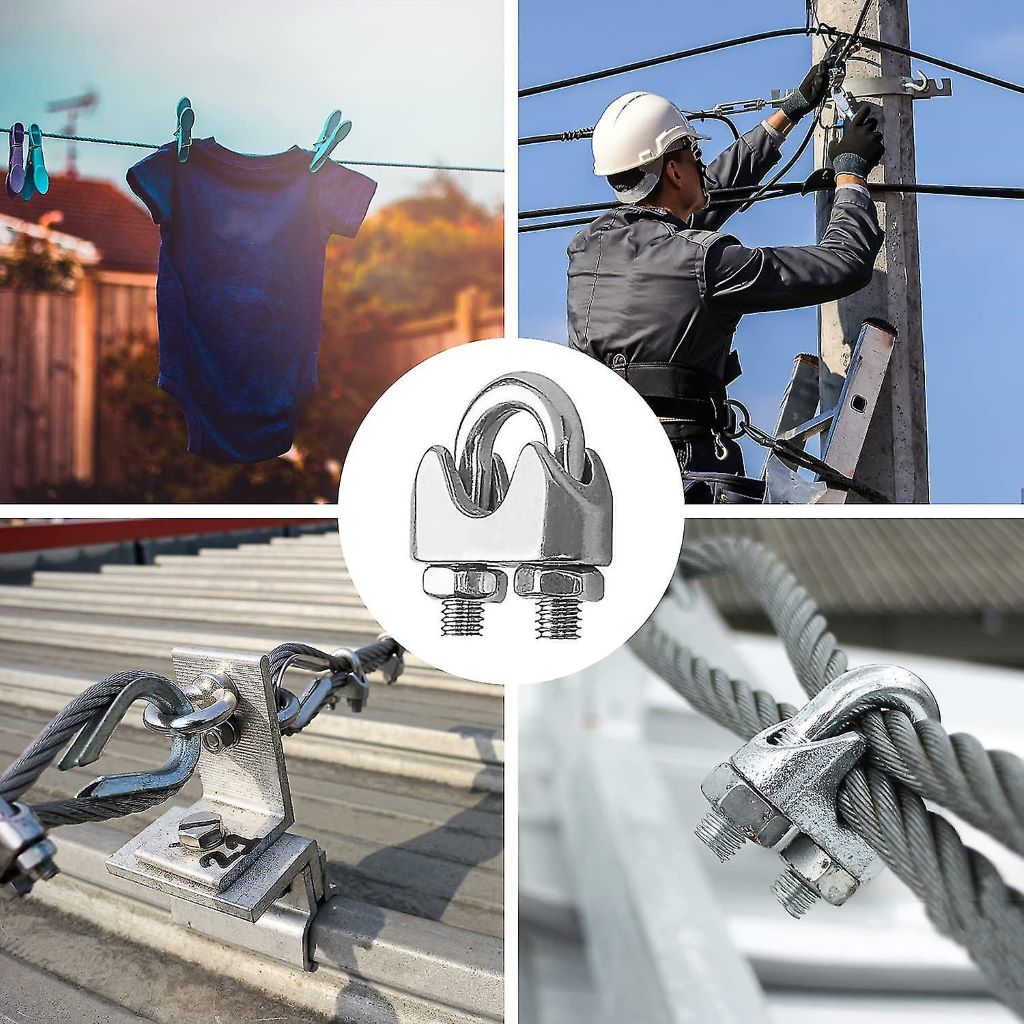
Hey there, fellow DIY enthusiast! If you’ve ever tried your hand at crafting, repairing, or securing heavy objects, you might have come across wire rope cables. These robust and versatile cables are essential in a wide range of applications, from building suspension bridges to securing a swing in your backyard.
But here’s the catch: a wire rope cable is only as strong as its weakest point. To ensure the safety and reliability of your project, it’s crucial to learn how to properly clamp wire rope cables. Think of it as giving your trusty cables a secure and loving embrace, ensuring they won’t let you down when you need them the most.
In this guide, we’ll take you through the ins and outs of clamping wire rope cables, from understanding the basics to mastering different clamping techniques. So, grab your favorite cup of coffee and let’s dive into the world of wire rope clamping! And if you’ve ever wondered, How long does silk rope takes to make? – we’ve got you covered with all the answers you need.
What Are Wire Rope Cables?
Wire rope cables are made up of multiple strands of wire twisted together to form a sturdy, flexible, and incredibly strong cable. They come in various sizes and configurations, making them suitable for a wide range of applications, from supporting heavy loads in construction to suspending a hammock in your backyard.
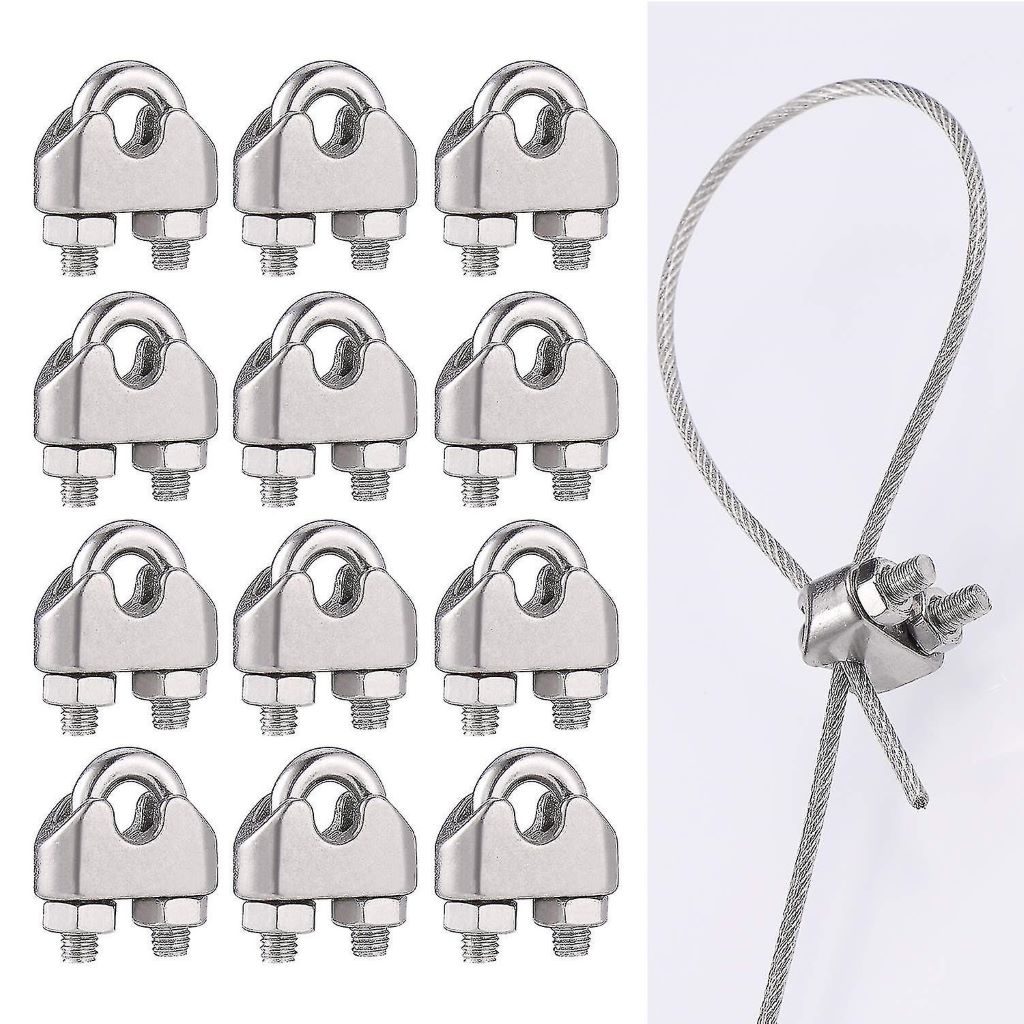
If you’re looking to secure the ends of wire ropes or cables, wire rope clamps can be an excellent choice. These clamps are available in a variety of materials, including stainless steel, galvanized steel, and synthetic fibers like nylon, each with their own unique properties and applications. To ensure optimal safety and effectiveness, it’s important to choose the right size for your specific use case. You can refer to a wire rope clamp size chart to determine the appropriate wire rope clamp size chart for your cables.
Why Are Wire Rope Cables So Popular?
Wire rope cables are renowned for their remarkable strength and durability. They can withstand immense tension and are highly resistant to corrosion, making them ideal for outdoor and heavy-duty applications. They are like the Hercules of the cable world!
What Are the Parts of a Wire Rope Cable?
A wire rope cable consists of three main components:
- Strands: These are the individual bundles of wires that make up the cable. The number of strands varies depending on the cable’s design.
- Wires: Within each strand, you have individual wires. These wires are twisted together to form a strand.
- Core: The core is the central part of the cable, running through the strands. It provides additional support and stability to the cable.
Now that we have a good grasp of what wire rope cables are let’s move on to the meat of our discussion – how to properly clamp them.
The Art of Clamping
Clamping wire rope cables is all about ensuring safety and reliability. Just imagine building a treehouse and having it come crashing down because you didn’t clamp the rope securely. Not fun, right?
Why Is Proper Clamping Important?
Clamping serves several essential purposes:
- Safety: A securely clamped wire rope cable can prevent accidents and injuries. It ensures that your cables won’t unexpectedly come loose or unravel.
- Load Distribution: Proper clamping spreads the load evenly across the cable, reducing wear and tear and prolonging its lifespan.
- Security: Whether you’re building a suspension bridge or a simple swing, you want to have confidence that your clamps will hold everything in place.
Now, let’s break down the steps to properly clamp a wire rope cable.
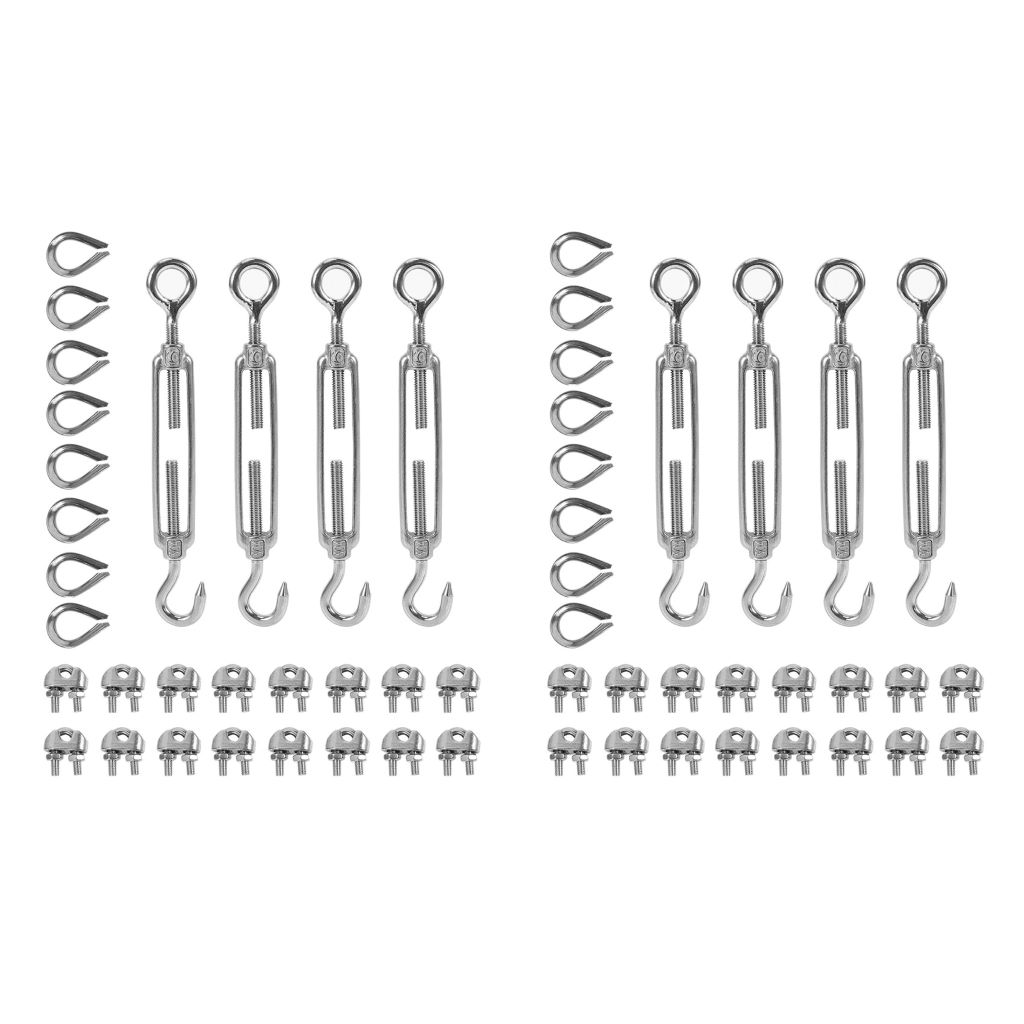
Step 1: Gather Your Tools and Materials
Before you get started, make sure you have the following tools and materials handy:
- Wire rope cable
- Cable clamps (also known as wire rope clips)
- A wrench or socket set
- A measuring tape
- Safety gloves and glasses (safety first!)
Step 2: Measure and Cut the Cable
Measure the length of cable you need for your project and use cable cutters to trim it to the desired length. Make sure to wear your safety gloves when handling the cable to avoid any injuries from sharp ends.
Step 3: Form a Loop
If your project requires a loop, create it by joining the two ends of the cable together. Ensure there is enough overlap for a secure connection. The length of overlap should typically be around six times the cable’s diameter.
Step 4: Clamp the Cable
Now comes the crucial part – clamping the cable. Follow these steps carefully:
- Place the cable clamp over the cable at the desired location for clamping.
- Thread the loose end of the cable through the U-bolt of the clamp.
- Make sure that the U-bolt is on the dead end of the cable, opposite to the side with the tail (the loose end).
- Tighten the nuts on the U-bolt using a wrench or socket set. Alternate between the nuts to ensure even pressure on both sides of the cable.
- Keep tightening until the U-bolt is firmly secured, and the cable is clamped securely. You should not be able to move the cable within the clamp.
Step 5: Inspect and Test
Once you’ve clamped the cable, it’s essential to inspect your work:
- Ensure that the U-bolt is properly aligned and secured.
- Check for any signs of fraying or damage to the cable. If you spot any, you may need to trim and re-clamp the cable.
- Give the cable a gentle tug to confirm that it’s securely clamped and won’t slip.
Step 6: Repeat as Needed
Depending on your project, you may need to repeat the clamping process at various points along the cable. Make sure to maintain consistent spacing between clamps, following the manufacturer’s recommendations.
Different Clamping Techniques
Clamping isn’t a one-size-fits-all endeavor. The technique you choose depends on the type of project and the specific requirements. Let’s explore a few different clamping methods.
1. Single Saddle Clamps
Single saddle clamps are the most common type of clamps used for wire rope cables. They consist of a U-bolt, a saddle, and two nuts. This setup allows for a secure and straightforward clamping process.
2. Double Saddle Clamps
Double saddle clamps are similar to single saddle clamps, but they have an additional saddle, offering increased stability and strength. They are often used in critical applications where safety is paramount.
3. Wire Rope Sleeves
Wire rope sleeves are cylindrical fittings that you slide onto the cable before clamping. They provide extra protection and reinforcement to the cable, making them suitable for heavy loads and high-stress applications.
4. Swage Sleeves
Swage sleeves are another type of fitting that requires a specialized tool called a swaging machine. They compress the cable and sleeve together to create a strong, permanent connection. Swage sleeves are commonly used in marine and industrial settings.
5. Nicopress Sleeves
Nicopress sleeves, also known as crimp sleeves, are used for lighter-duty applications. They are easy to install with a Nicopress tool, which crimps the sleeve onto the cable. While not as robust as swage sleeves, they are still reliable for many purposes.
Frequently Asked Questions (FAQs)
Now that we’ve covered the basics of clamping wire rope cables, let’s address some common questions to ensure you’re fully equipped with knowledge and confidence.
1: How tight should I make the U-bolt nuts when clamping a wire rope cable?
When clamping a wire rope cable, tighten the U-bolt nuts evenly and firmly. You should aim for a snug fit, but avoid over-tightening, as this can damage the cable. Follow the manufacturer’s recommendations for torque specifications, if provided.
2: Can I reuse wire rope clamps?
Wire rope clamps are designed for single-use applications. Once they have been tightened, they may not maintain their original strength if removed and reinstalled. It’s recommended to replace clamps if you need to make adjustments to your cable.
3: What is the minimum overlap required when forming a loop in a wire rope cable?
The minimum overlap when forming a loop in a wire rope cable should be at least three times the cable’s diameter. However, for added safety and strength, a longer overlap of around six times the diameter is commonly recommended.
4: Are there any safety precautions I should take when clamping wire rope cables?
Absolutely! Safety should always be a priority when working with wire rope cables. Here are some essential precautions:
- Wear safety gloves and protective eyewear to prevent injuries from sharp cable ends.
- Inspect the cable for any signs of damage or wear before clamping.
- Follow the manufacturer’s guidelines for clamping torque and spacing.
- Regularly inspect clamps for signs of loosening or damage after installation.
- Ensure that the cable is securely clamped before applying any load.
5: Can I use wire rope cables for overhead lifting?
Wire rope cables can be used for overhead lifting, but there are specific safety standards and regulations that must be followed. It’s crucial to consult with a qualified engineer or professional who can assess the application and ensure that all safety requirements are met.
Conclusion
Congratulations! You’ve now mastered the art of clamping wire rope cables. Whether you’re building a treehouse, securing a swing, or embarking on a larger construction project, you have the knowledge and skills to ensure your cables are up to the task.
Remember, proper clamping is not just about securing cables; it’s about guaranteeing safety, reliability, and peace of mind. So, the next time you’re faced with a wire rope cable project, you can tackle it with confidence, knowing you’ve got the know-how to do it right. Stay safe, and happy clamping!